Remove carpet can seem daunting, but with the right tools and steps, it becomes manageable. Start by gathering necessary tools like pliers, a utility knife, and gloves. Clear the room of all furniture and other items. Carefully pull up one corner of the carpet using pliers, and then continue along the edges to detach it from the tack strips.
Roll up the carpet as you go to keep the area tidy. Finally, remove the padding and clean the floor thoroughly. This method ensures a smooth and efficient carpet removal process, making way for your new flooring project.
Tools Needed for Remove Carpet
Removing carpet might seem tough, but it’s doable with the right tools. Knowing which tools to use makes the job much easier and faster. This guide will help you gather everything you need.
Essential Tools
Several tools are necessary for removing carpet effectively. First, use a utility knife to cut the carpet into smaller sections. This makes it easier to handle. Make sure the blade is sharp to avoid tearing the carpet fibers. Next, you’ll need a carpet staple remover to pull out the staples holding the carpet down. This tool saves a lot of time and effort.
Another important tool is a flat pry bar. It helps lift the edges of the carpet from the floor. A good pair of pliers is also useful for removing stubborn staples and nails. Safety gloves are a must to protect your hands from sharp edges and rough surfaces. Lastly, have a trash bag ready for collecting debris and old carpet pieces.
- Utility Knife
- Carpet Staple Remover
- Flat Pry Bar
- Pliers
- Safety Gloves
- Trash Bag
Optional Supplies
Some supplies can make the job easier but are not necessary. Knee pads can protect your knees if you will be kneeling a lot. Duct tape is useful to hold the carpet sections together before disposal. A vacuum cleaner helps to clean up any loose dirt and debris as you go.
For those dealing with old, smelly carpets, consider using air fresheners or deodorizers. This makes the room more pleasant to work in. A measuring tape helps ensure you cut the carpet into even sections. Plastic sheeting can protect other parts of the floor from dirt and dust.
- Knee Pads
- Duct Tape
- Vacuum Cleaner
- Air Fresheners
- Deodorizers
- Measuring Tape
- Plastic Sheeting
Preparation Steps
Remove carpet can be a big task, but with the right steps, it can be done smoothly. The first step is preparation. Proper preparation makes the job easier and faster. Below are some important preparation steps to follow.
Clear The Room
Before starting, clear the room of all furniture and items. This step is essential to ensure you have enough space to work.
Here are some steps to clear the room effectively:
- Move furniture: Remove tables, chairs, and other furniture.
- Take out small items: Remove rugs, lamps, and decorations.
- Remove electronics: Unplug and move TVs, computers, and other devices.
- Check for hidden items: Look under furniture and in corners for any forgotten items.
Ensure the room is completely empty. This will make carpet removal easier and safer. Take your time to ensure nothing is left behind.
Inspect The Carpet
After clearing the room, inspect the carpet carefully. This will help you understand the best way to remove it.
Consider these points while inspecting the carpet:
- Check for damage: Look for any tears or rips in the carpet.
- Look at the edges: See how the carpet is attached to the floor.
- Feel the padding: Check the condition of the padding underneath.
- Identify sections: Note if the carpet is in one piece or multiple sections.
Inspecting the carpet helps you plan the removal process. This step ensures you know what tools and techniques to use.
Removing The Carpet
Removing carpet might seem hard, but it can be easy with the right steps. You can save money by doing it yourself. This guide will help you remove carpet step-by-step.
Cutting The Carpet
Before cutting, gather your tools. You will need a utility knife, gloves, and a dust mask. Safety is important. Always wear gloves and a mask to protect yourself.
First, cut the carpet into strips. Use the utility knife to make long, straight cuts. Each strip should be about 3 feet wide. This size is easy to handle and carry.
Steps to cut the carpet:
- Start at one corner of the room.
- Make a small cut to get started.
- Pull back the carpet and cut along the floor.
- Repeat until the entire carpet is in strips.
It’s important to cut the carpet carefully. Avoid cutting too deep. You don’t want to damage the floor underneath.
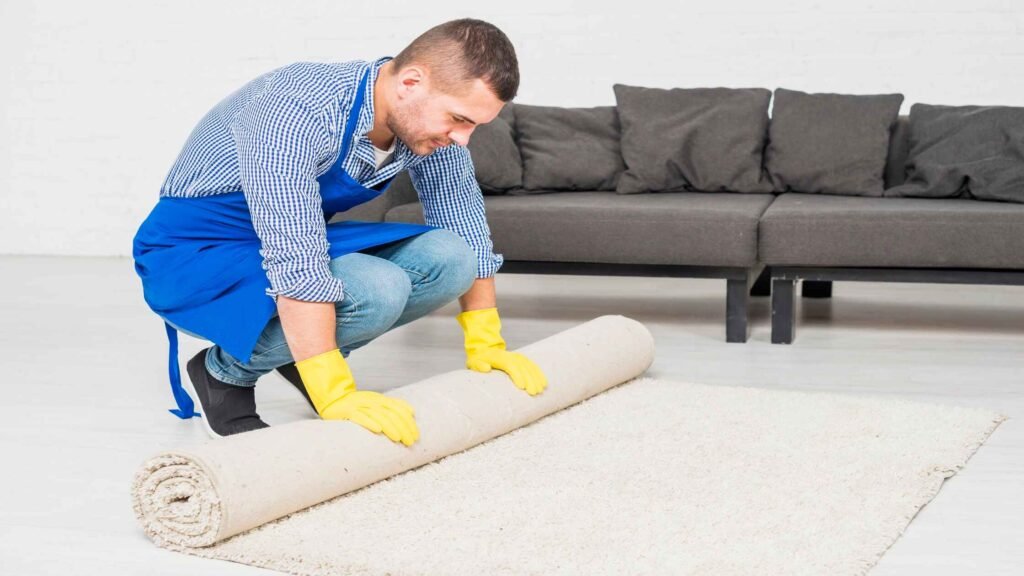
Pulling It Up
Once the carpet is cut, it’s time to pull it up. Start at a corner and grab the edge of the carpet. Pull it back slowly. If it’s hard to pull, use pliers to get a better grip.
After pulling up the first strip, roll it up. Rolling makes it easier to carry. Secure the roll with tape so it doesn’t unroll.
Steps to pull up the carpet:
- Grab the edge of the carpet.
- Pull back slowly and steadily.
- Roll up the carpet strip.
- Tape the roll to keep it secure.
Repeat these steps for each strip. Dispose of the old carpet properly. Check local guidelines for carpet disposal.
Dealing With Padding
Remove carpet can seem like a big job, but it’s not too hard. Dealing with padding is one of the steps. Padding is the soft layer under the carpet. It’s important to remove it properly to avoid problems. Here’s how you can do it.
Removing Carpet Padding
Removing carpet padding is the next step after taking up the carpet. Padding is often stapled or glued to the floor. Use a utility knife to cut the padding into small sections. This makes it easier to handle.
- Start at one corner. Use pliers to pull up a small section.
- Cut the padding into strips. Make each strip about 2 feet wide.
- Pull the strips up one by one. Be careful not to tear them too much.
- Use a scraper. This helps to remove any glued parts left on the floor.
Sometimes, staples are left behind after you pull up the padding. Use a staple remover or pliers to take them out. Check the floor carefully. Make sure no staples or padding pieces are left. If you find any stuck pieces, use the scraper again.
Cleaning The Floor
After removing the padding, the floor needs a good cleaning. Start by sweeping the floor with a broom. This will get rid of most of the dirt and debris. Use a vacuum cleaner to suck up any small particles left behind.
- Sweep the entire floor. Make sure to get into the corners.
- Vacuum the floor. This helps to remove fine dust and dirt.
- Check for sticky spots. Use a damp cloth to wipe them away.
Mop the floor with warm, soapy water to remove any remaining dirt. Let the floor dry completely before moving on to the next step. This ensures that the floor is clean and ready for whatever you plan to do next.
Post-removal Tips
Removing carpet can refresh your home and reveal beautiful floors. Once the carpet is gone, some tasks remain. These post-removal tips will help you handle disposal and floor refinishing.
Disposal Options
Disposing of old carpet might seem daunting, but several options exist. Recycling is a great way to go green. Many centers accept carpet, turning it into new products. Check local facilities for carpet recycling programs.
Donations can also be considered. Some charities accept old carpets if they are in good condition. Contact local shelters or non-profits to see if they need carpet donations.
If recycling or donating is not viable, bulk trash pickup is an option. Many cities offer bulk pickup services. Schedule a pickup with your waste management company.
A dumpster rental can handle large quantities of carpet. This is useful for big projects or multiple rooms. You can fill the dumpster at your own pace.
For a quick reference, here is a table summarizing disposal options:
| Option | Description |
| Recycling | Turn old carpet into new products |
| Donations | Give to charities if in good condition |
| Bulk Trash Pickup | Schedule with local waste management |
| Dumpster Rental | Rent for large amounts of carpet |
Floor Refinishing
After carpet removal, floors might need refinishing. Cleaning the floor is the first step. Remove any glue, nails, and staples. Use a scraper or pliers for stubborn pieces. Sweep or vacuum the area thoroughly.
Next, sanding the floor is crucial. Sanding smooths out rough patches and prepares the surface. Use a floor sander for large areas. For edges, a hand sander works well. Sand the floor until it’s even and smooth.
Applying a stain or finish can enhance the floor’s look. Choose a stain color that matches your decor. Apply the stain evenly with a brush or cloth. Allow it to dry completely before moving on.
Finally, seal the floor with a protective finish. This adds shine and durability. Use a clear polyurethane sealant for best results. Apply two or three coats, letting each dry in between.
Here is a quick checklist for floor refinishing:
- Clean the floor
- Remove glue, nails, and staples
- Sand the floor
- Apply stain or finish
- Seal the floor with polyurethane
Conclusion
Removing carpet can be a straightforward task with the right tools and steps. Follow our guide for a smooth process. Ensure you take safety precautions and dispose of materials responsibly. With patience and care, you can achieve a clean, carpet-free space ready for its next transformation. Happy renovating!